Showing posts with label cookies. Show all posts

Friday, March 23, 2012

Happy Birthday, Oreo!

My first crack at baking since we moved from Bellingham to Portland about two weeks ago. I had to work downtown for about a week, and on one of my breaks I wandered over to Sur La Table. (Poor me, right?) I'd already planned on making the cupcakes -- but I wanted a coordinating liner, and I knew I'd be able to find something there.

Five days later I walked into The Decorette Shop and found an entire WALL of cupcake liners.
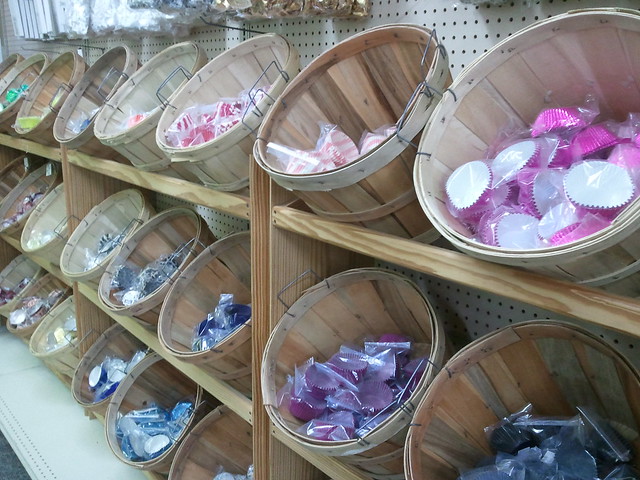
Since I'd already gotten some nice ones at Sur La Table, I just rejoiced in the fact that this supply is only eight wonderful, walkable blocks from my new home.

The first step was separating 26 cookies. I twisted a few, but Oreos aren't in my Top 5 Cookies list, and I didn't have the finesse necessary to prevent a cracked top. So I got out the paring knife for the rest of them. Broke a few tops in two, but kept all the pieces, figuring I'd handle them carefully and piece them back together, or just get lazy and stick shards of them in the top of the icing.

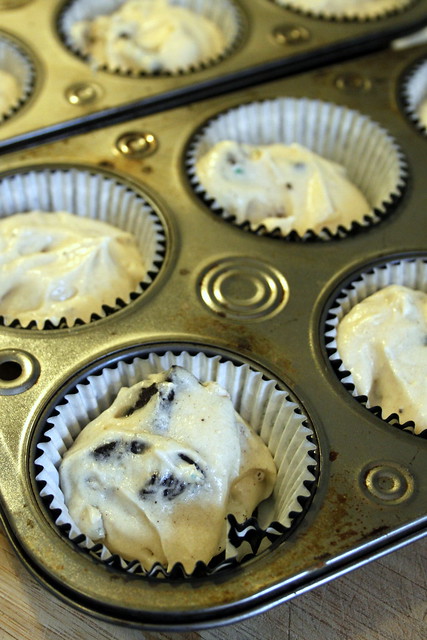
I quartered 20 more cookies and folded them into the batter.
I wanted a more uniform frosting application, so I had to dig around in the garage for one of the several "CAKE STUFF" boxes. As I was contemplating piecing the Oreo tops to make wholes, or just going the lazy, shard route, Eric walked by, saw all the pieces all over, and said "Ooooh, a puzzle!" Bonus.

I piped pretty cream cheese frosting rosettes on them (only to smash them with the oreo tops), and sent them on their way.
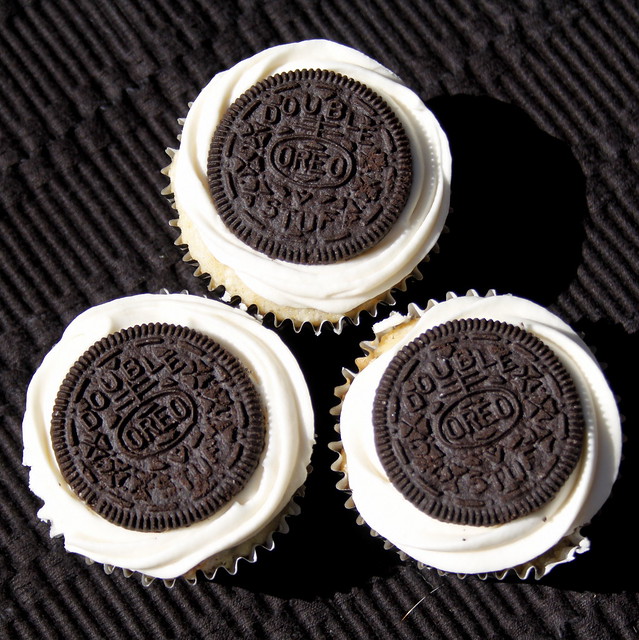
The box I got at The Decorette Shop was a tad too small for the 26 I made, so darn, I had to keep six.


I have Pinterest to thank for the desire to make these. The recipe is here.

Oh yeah -- I did in fact buy a box of Birthday Cake Oreos. I love cake, we know that. I'm not a huge fan of Oreos, we've established that too. They were okay. I used about 10 of them in this recipe because the bag of Double-Stuff Oreos had only 20. I don't think they affected the taste of the cupcakes that much, but on their own, they were just mediocre. A little too artificial tasting for me. I found a more detailed review here, if you're curious.

Sunday, May 1, 2011

I'm No Michael Ruhlman

I found this photo yesterday on Pinterest ( "Pinterest is a place to catalog the things you love.") and showed it to Eric.


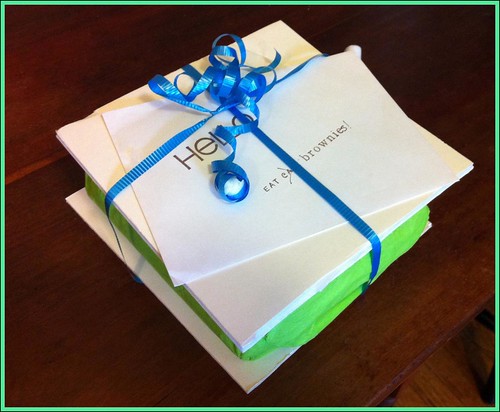
Lately it's been almost a weekly occurrence for me to mail baked goods to friends across the country...


...so I figured I owed him a dessert that he would actually get to eat. I tracked down the source and discovered it belonged to Michael Ruhlman.

A chocolate chip cookie bowl. How hard could that be?

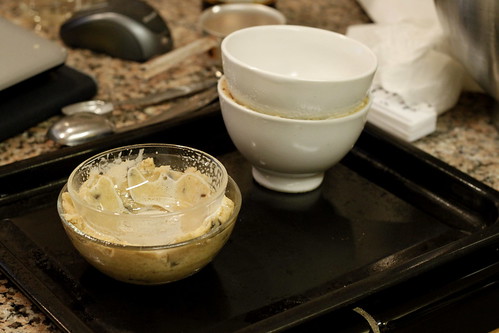
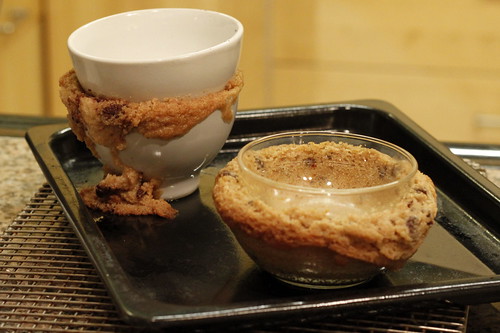
Problem #1: I don't own multiple graduated-sized bowls like Michael Ruhlman apparently does, so I improvised, which limited me to just two cookie bowls at one time.

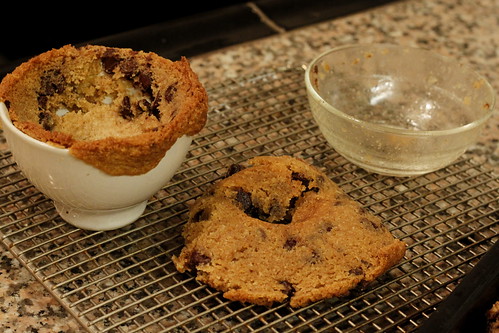
According to Mr. Ruhlman's recipe, what looks like Problem #2 is to be expected.


Separate the bowls, then put back into the oven for a few more minutes to cook the bottom of the cookie bowl.


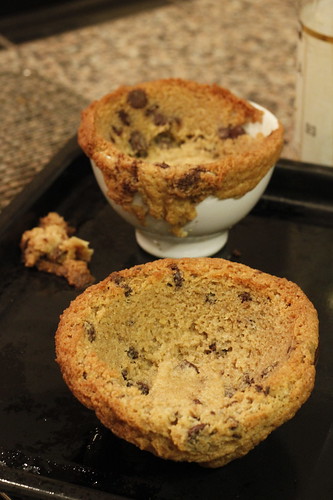
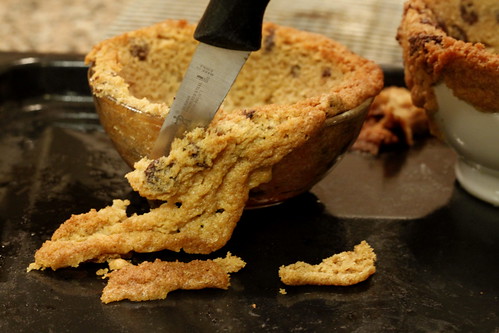
Trim the overflow...

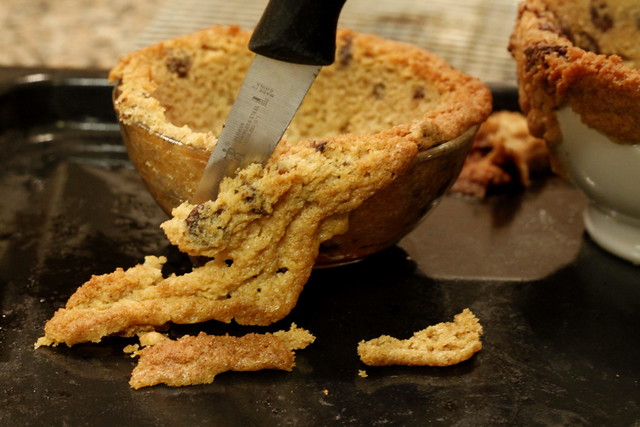
"When the bowls are cool enough to handle, cut off any dough that's over flowed the edge and, very carefully, run a pairing knife along the sides, gently lifting up to delicately free the bottom of the cookie bowl."

Yeah, right. Problem #3:

"Yes, you can eat that one."


I'm actually glad I don't own so many bowls, because the whole process was kind of a pain.

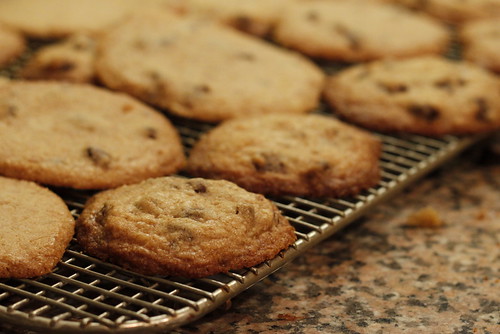
I just made cookies with the rest of the dough.


So the whole cookie bowl thing was a big fat fail, BUT the cookie recipe was great. Very buttery, but not too crisp. Who needs cookie bowls?!

Friday, October 29, 2010

Giving The Finger(s)

Since my last blog post in August, I've become obsessed with quilting.

I don't have time for baking and quilting, and since quilting is much healthier for me than baking, well, quilting has won out.

But for Halloween, I decided to get back in the kitchen. You may remember last year I made popcorn balls for the kids in our cul-de-sac. This year I decided to get creepy and make Witch Finger Cookies.
Before baking...


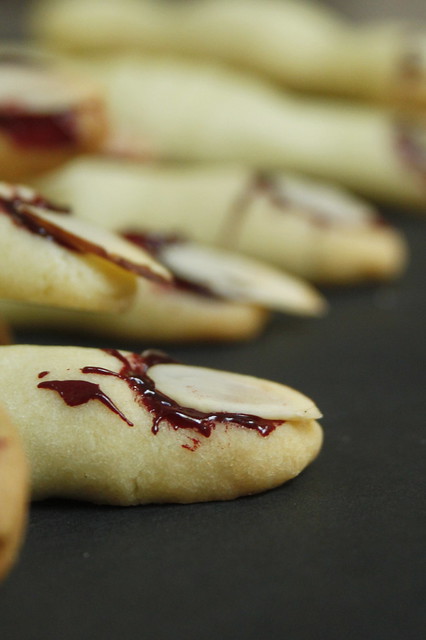
After, with the addition of "blood."


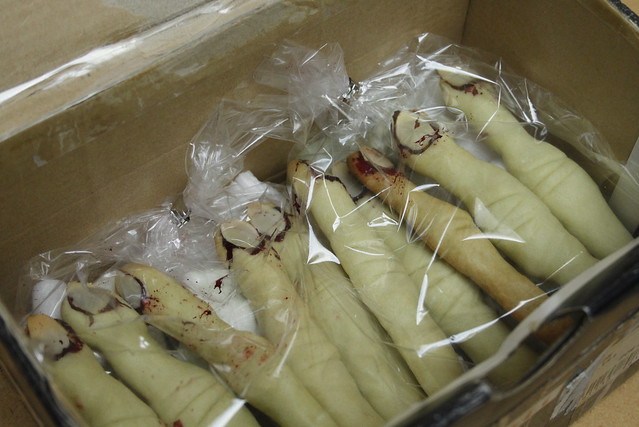
I made way more than I needed for the four kids in our neighborhood, so I packed some up to send to a long-distance friend who considers Halloween a religious holiday. I figure if they break in transit, they'll still hold their creep factor.

Next time I'll add more green food coloring, because they didn't really hold their color after baking. I would also like to find an alternative to the red gel food coloring, because it doesn't set and will stain anything it touches. (I'm going to hate to put warning notes in my Halloween goody bags.) But otherwise, I love these -- super easy to make, and nicely creepy.

Sunday, June 20, 2010

Sweet and Sort of Savory


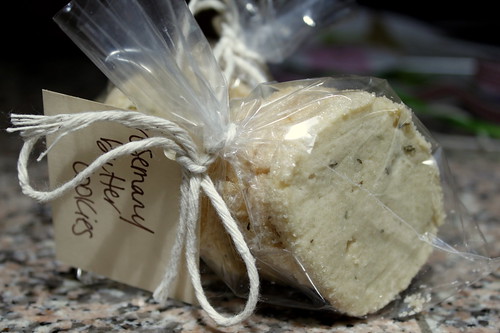
I used my Martha Stewart’s Cookies book as inspiration for my Father’s Day foodie gift. I found Cornmeal Shortbread and Rosemary Butter Cookies . (What’s the difference between a shortbread and a butter cookie, anyway?) I made both, but hands-down, the rosemary cookie was the winner.

I just happen to have a rosemary bush in my pathetic excuse for a garden.


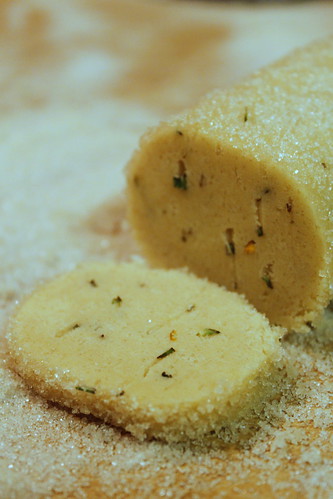
Does anyone have any tips to avoid the flat bottoms of rolled dough logs?

I didn’t have an appropriate container on hand for all of the cookies I wanted to gift and mail, so I used several of these little cellophane bags.

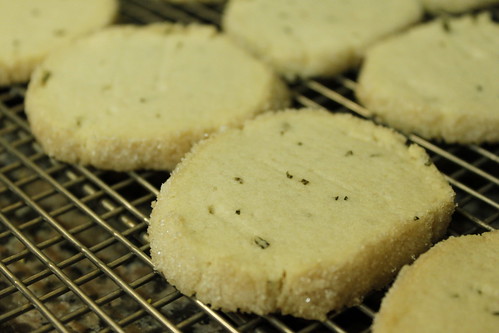
Summary: Wow. I loved the sweet-but-almost-savory flavor of these cookies. The recipe called for one tablespoon of rosemary, but next time I make these I might just double that. The recipe also called for super fine sanding sugar, but I used raw cane sugar, and that worked just fine.

Grade: A+

Martha Stewart's Rosemary Butter Cookies

  • 1 cup (2 sticks) unsalted butter, softened
  • 3/4 cup granulated sugar
  • 1 large egg plus 1 egg white, beaten
  • 1 teaspoon pure vanilla extract
  • 2 1/2 cups sifted all-purpose flour
  • 1 tablespoon finely chopped fresh rosemary
  • 3/4 teaspoon coarse salt
  • 1/2 cup fine sanding sugar

Directions

  1. Put butter and granulated sugar in the bowl of an electric mixer fitted with the paddle attachment; mix on medium speed until pale and fluffy, about 2 minutes. Mix in whole egg and vanilla. Reduce speed to low. Add flour, rosemary, and salt, and mix until combined.
  2. Halve dough; shape each half into a log. Place each log on a 12-by-16-inch sheet of parchment. Roll in parchment to 1 1/2 inches in diameter, pressing a ruler along edge of parchment at each turn to narrow log. Transfer to paper-towel tubes to hold shape, and freeze until firm, about 1 hour.
  3. Preheat oven to 375. Brush each log with egg white; roll in sanding sugar. Cut into 1/4-inch-thick rounds. Space 1 inch apart on baking sheets lined with parchment. Bake until edges are golden, 18 to 20 minutes. Let cool on sheets on wire racks. Store in airtight containers at room temperature up to 3 days.

Tuesday, June 8, 2010

Blinded by Lentils

In my continuing effort to eat healthy, whole, real foods, I got sucked in by a lentil cookie recipe. This one came from Alton Brown.

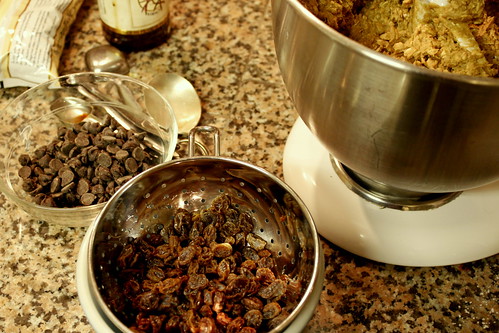
I didn’t have enough raisins or cherries, so I used a little of both. And I used brown sugar instead of my usual organic cane sugar.

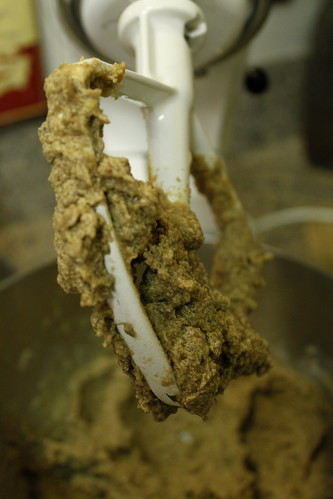
Kind of an odd color, but I can live with that.

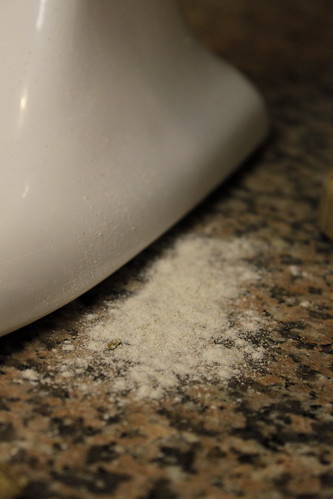
No matter what I do, some flour always manages to escape the mixer. I’ve tried the KitchenAid pouring sheild, but I found it an awkward space hog, so I got rid of it years ago.

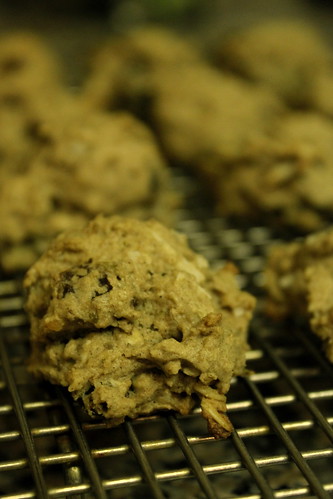
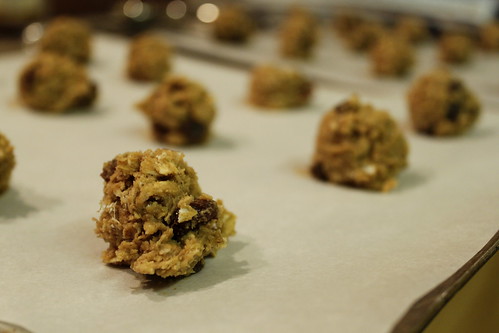
The first batch didn’t flatten much.

So for the second and third batches I flattened them with a fork a little.

The verdict: They’re good! The lentils give them a different (not bad) texture, but you can’t actually taste them. The thing is, they might be healthier because of the lentils and whole wheat flour, but they’ve still got two cups of sugar in them and a stick and a half of butter. IF I make these again, I’ll try to sub out some of the butter for applesauce, and find a replacement for some of the sugar. I mean, really, how can you go wrong with that much butter and sugar, no matter how many cups of lentils are in something?

Wednesday, February 24, 2010

Pleasing the Masses

I set out to make oatmeal cookies recently for an upcoming road trip, but was unsure what I wanted to put IN the cookies. So I took an informal poll among friends -- how do you like your oatmeal cookie? Chewy or crispy? With or without nuts? Any other additions? -- and found people are very particular about their cookies. Of the 15 people that responded, three said absolutely no nuts, three more said raisins do NOT belong in cookies, two preferred them plain, no additions, and seven people were open to just about anything in their oatmeal cookies, from coconut, M&Ms, chocolate chips, even coconut and dried apricots. Chewy won hands down.

Well, my brother, who lives two states away in California, chimed in -- “I prefer oatmeal cookies over any other (hint). Raisins are okay, but I prefer chocolate chips, chewy, and never with nuts.” So I took the hint and went in search for a good chewy oatmeal cookie. And I found it at Smitten Kitchen.

I split the batch in two – half with raisins, half with chocolate chips.

First I soaked the raisins in hot water to plump them up a bit, as I generally do when I bake with raisins. Doesn’t look like it does much, but I think it helps. (I use rum when I'm making rice pudding.)


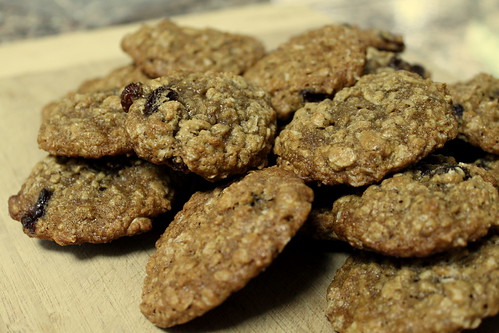
Success – chewy in the middle, slightly crispy on the edges.

I boxed up a dozen of the oatmeal-chocolate chip in a small USPS priority box and shipped them off to my little brother. And decided my preferences lean toward the more traditional (to me) oatmeal-raisin variety. (But because I can't leave well enough alone, I'd like to try these next time with chunks of dried apple.) How about you?

Monday, July 27, 2009

Daring Bakers: Milanos and Mallows

The July Daring Bakers' challenge was hosted by Nicole at Sweet Tooth. She chose Chocolate Covered Marshmallow Cookies and Milan Cookies from pastry chef Gale Gand of the Food Network.

This month we were given the option of trying one or both of the recipes. Of course I had to tackle both. I made the Milanos first, even though the “Mallomars” are the ones I really was itching to try. I had a girls’ weekend planned later in the month, so I saved that one for a couple weeks so I could take them with me.

The Milanos recipe seemed simple enough; not many ingredients, an easy ganache filling. But the trick was piping the batter (using a pastry bag) into perfect oval shapes. I wanted them to look as close to the Peppridge Farm version as possible.


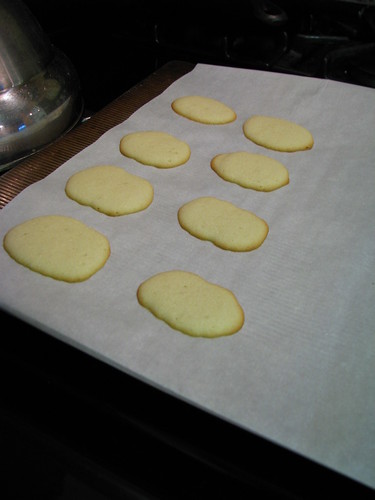
I tested a small batch first. Meh.


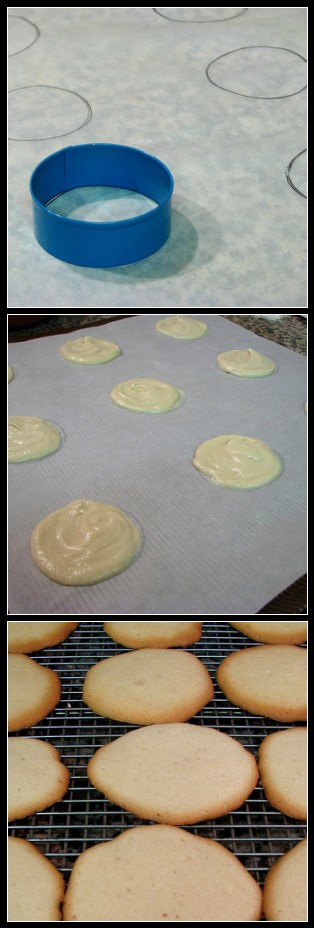
So I decided to trace circles with a cookie cutter, then fill in the circle (on the opposite side of the parchment paper) with the batter.


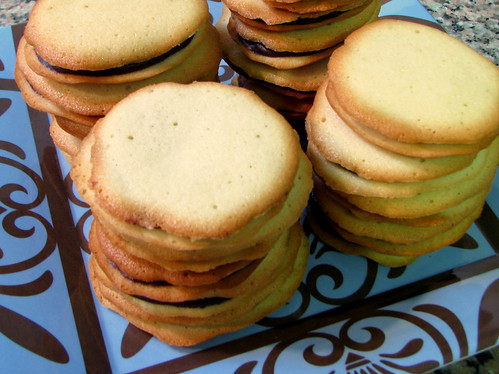
Not perfect, but better. At least somewhat uniform.

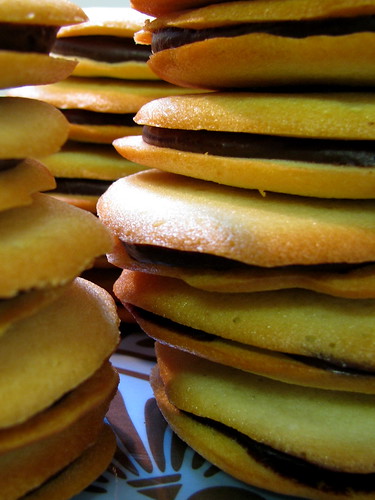
They assembled pretty easily and tasted good, though I haven’t had the originals in a while, and I don’t remember so much citrus – lemon flavor in the cookie, orange flavor in the chocolate. The one thing that wasn’t the same as the Pepperidge farm version was their texture. The cookies were more cakelike, not so crisp. I don’t know that I’ll make them again, but if I do, I’ll use a very small amount of batter for each cookie to hopefully result in a cookie with more crunch. I ended up giving most of these to the neighbors, and sent a few to a friend for her birthday.


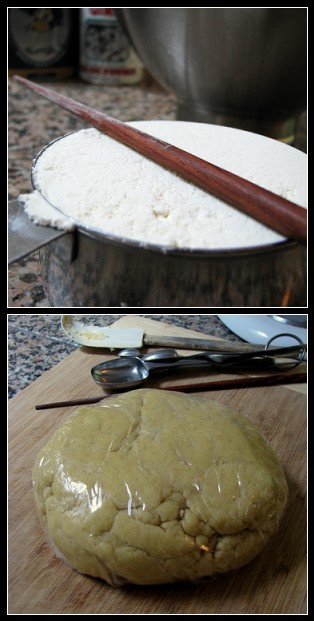
Now for the marshmallow cookies. These were a lot of fun to make and assemble. First, a simple cookie dough.


Sort of a sugar cookie with a tiny bit of cinnamon. Their flavor was very reminiscent of my favorite Jammer scones from Portland’s Grand Central Bakery.

I made the cookies a few days ahead of time and stored them in the freezer. I was curious to try my hand at homemade marshmallows. Easy-peasy, just sort of messy. I’d make them again, only I might spread them into a cookie sheet to cool, then cut them out to the size I need. Homemade s’mores, anyone?


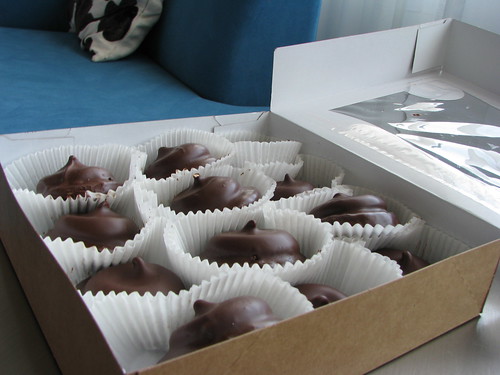
I was nervous about dipping the marshmallow-topped cookies into the chocolate. I really didn’t expect the marshmallow to stick as well as it did. I melted the chocolate in a cone-shaped double boiler, then used ice tongs to pick up the cookies and dunk them face first into the chocolate. Perfect!


We’ve been having some warm weather here, so it seemed to take forever for the chocolate to set. I ended up putting them in the refrigerator, then got some pastry boxes from the grocery store to package them up. I gave some to the neighbors, and took the rest to my girls’ weekend. (We met in Tacoma and spent a lovely Saturday touring the Museum of Glass, drinking cocktails, and enjoyed a fabulous dinner.) We didn’t even eat them all, so I sent the rest home to my friend Ryan, who hosted my first baking challenge.


These will definitely be repeated.