Tuesday, June 30, 2009

Daring Bakers: Bakewell Tart

“The June Daring Bakers' challenge was hosted by Jasmine of Confessions of a Cardamom Addict and Annemarie of Ambrosia and Nectar. They chose a Traditional (UK) Bakewell Tart... er... pudding that was inspired by a rich baking history dating back to the 1800s in England.”

I’ve had a busy and stressful month – a trip to California to help build a deck for my mom, family drama that hasn’t been resolved, a quarterly newsletter to put together, the death of a friend who lived in Canada, so attending her memorial service required phone calls and an emergency trip to Seattle to renew our passports. Last week I felt as if it was all going to fall apart, and I even considered forfeiting this month’s challenge. But I held it together (just barely) and was able to complete the challenge this morning. I looked at my few hours of baking as my reward for surviving the month.

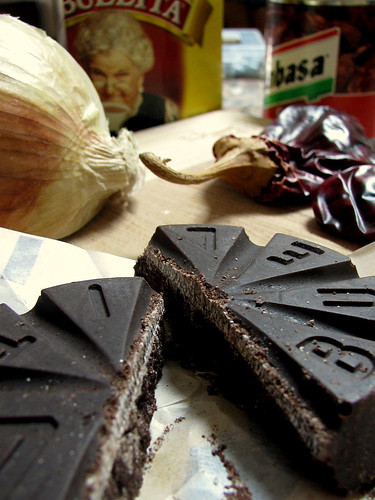
This version of a Bakewell Tart (or pudding, because apparently this recipe has elements of both recipes) is a sweet shortcrust pastry filled with jam and topped with frangipane. In English: a sugar cookie crust with jam and a pastry cream made with ground almonds.

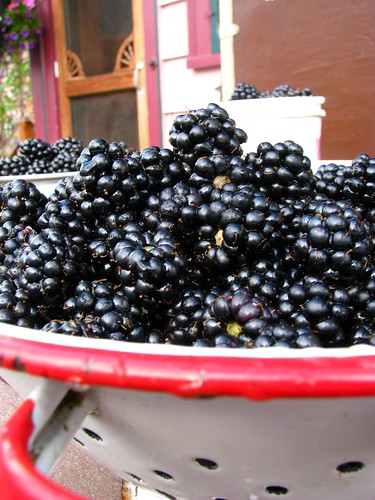
I really wanted the entire tart to be made from scratch, so I attempted to make blackberry jam with berries we picked last summer.


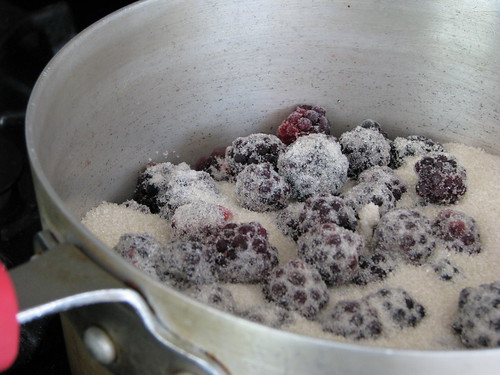
I followed a recipe in the Ball Blue Book Guide to Home Canning, Freezing & Dehydration. It was a disaster. The recipe was unclear about how long it would take to start to thicken. I set it on low after about 15 minutes, and 10 minutes later, it was burned. It didn’t stick to the pan, but it turned brown, tasted burned, and is now in a hard candy stage stuck in the bottom of my pan. I think I’m going to have to heat it up again to get it out.

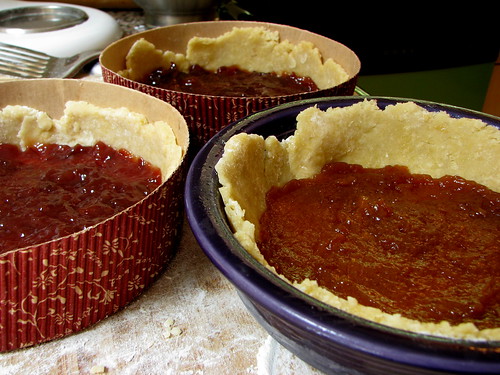
So I dug around my pantry and found three cans of homemade jams that had been given to us as gifts. I chose my cousin Deb’s plum and apricot jams, as I was making three tarts. (Two for neighbors, one for us. The whole glycemic index thing, you know; we shouldn’t be eating all this sugar by ourselves.)

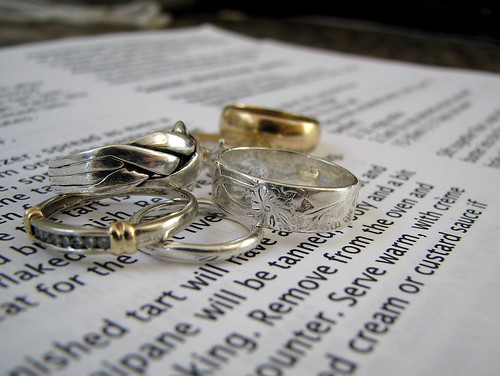
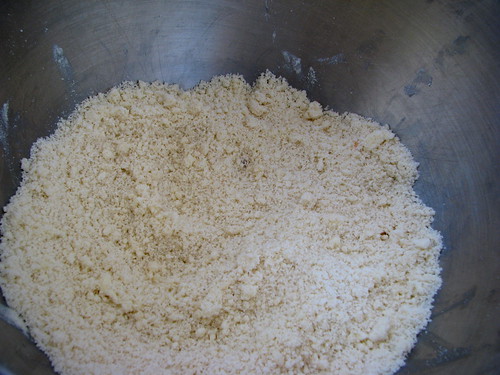
So I ground the almonds, then started on the crust. (When did I start wearing so many rings??)


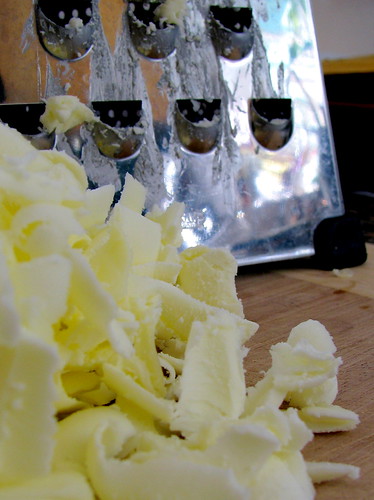
The recipe instructed me to grate frozen butter. I’d never done that before. Wow. It works amazingly well, really makes it so much easier to distribute the butter evenly. Who knew? Seriously, why have I never heard of this?!


I patted the dough into a disk and stuck it in the fridge. (I actually did this step the night before assembling the tart.)

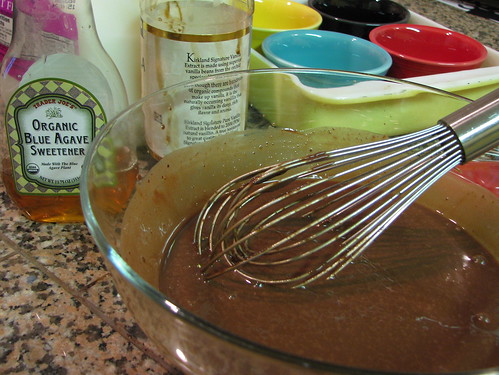
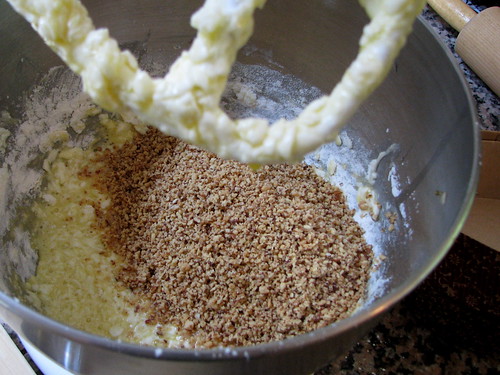
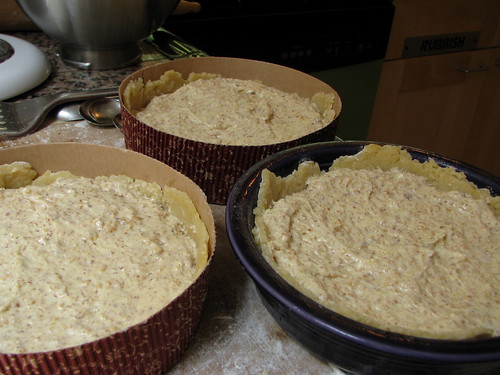
The next morning I removed the dough from the fridge to let it warm up a bit, then started on the frangipane: cream the “icing sugar” (had to look that up – it’s another name for powdered/confectioner’s sugar) and butter, add vanilla, and then add eggs, one at a time, plus two tablespoons of flour. As the recipe warned, “The batter may appear to curdle. Don’t panic”. Sure enough.


I then added the almonds…


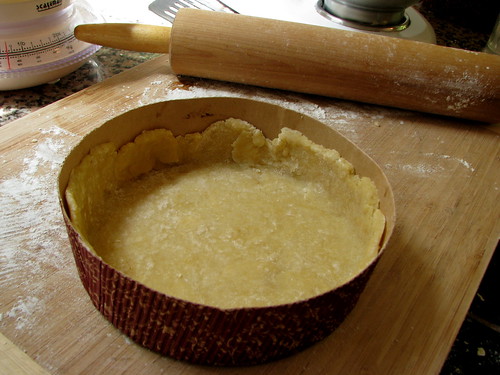
…and rolled out the dough. As I mentioned, I’d decided to make three tarts – one for each next-door neighbor, one for us. I used these handy paper cake “pans” I stocked up on when Daiso closed. (Oh, how I miss that store, particularly way up here in the boondocks of Northern Washington.)


I added the jam…


…then the frangipane…


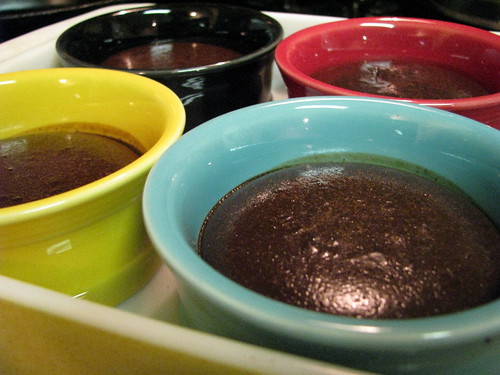
…and put them in the oven for about 25 minutes.

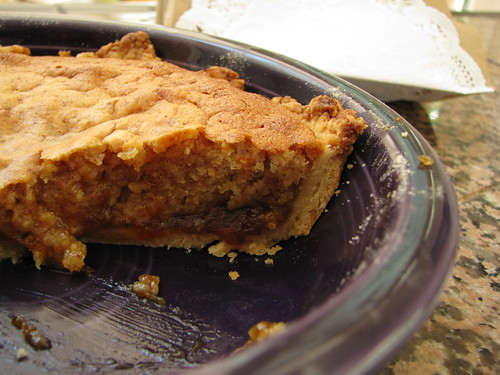
The recipe told me the finished tart would “have a golden crust and the frangipane will be tanned, poofy, and a bit spongy-looking”. It was. I took it out. (No overcooking this time!)


It is recommended to serve warm, and because I was giving these to the neighbors, I had to taste test, right? It was also recommended to serve with whipped cream or crème fraiche, and I’d have to agree. However, I didn’t have it, so we did without. (I also didn't have the recommended sliced almonds to add on top.)


You can see my impromptu packaging in the background. I included a note with each tart explaining my baking challenges and the fact that we’re doing our best to limit our sugar, then dropped them off before starting my workday. An hour later 8-year-old Abigail came over with a huge bowl of strawberries, cleaned and sliced. (Thank you, Abigail!)

Definitely a successful challenge. I’ll make this again, and I’ll make it with a raspberry or blackberry jam, if only for the aesthetic appeal of a red or bright-colored jam surrounded by all the golden goodness of pastry and cookie crust.

I survived a hellish month and now have a little dessert to treat myself. It's almost 2:00 a.m., and when I finally get this proofread and posted, it will be mine to savor.

Wednesday, June 24, 2009

Feeding My Emotions

Almost three years ago I lost approximately 35 pounds by following the Glycemic Index Diet. Since then I survived a stressful move to a new town that I’m still adjusting to, but I’ve gained at least half of that weight back. Two weeks ago I decided it was time to start again. It was going well. Until I got a call on Sunday that a very good friend of mine unexpectedly died.

My first instinct was to eat something forbidden. I sent my husband Eric to the store for a can of Pringles, and told him if he wanted any, he needed to buy his own. Surprisingly, I was able to make them last two days. (And with the addition of some wrapping paper, I now have a perfect gift container for cookies.)

Tonight I decided I needed dessert. I never, ever bake for us. Ever. Even before getting back on this GI Diet, baking was always reserved for gifts. So when I told Eric I was making dessert, he just assumed it was for someone else.

I pulled out my copy of Living the G.I. Diet and decided to go with Baked Chocolate Mousse.

1 c. skim milk
3 oz. unsweetened chocolate, chopped
½ c. liquid egg
1 c. sugar substitute
2 tsp. vanilla extract

Heat the milk, add the chocolate, then whisk until melted. Combine egg substitute, sugar substitute, and vanilla, whisk, then slowly add the chocolate-milk mixture. Bake in a water bath at 325 degrees for 25 minutes. Makes four servings.


I only had 2 oz. of chocolate. Okay, so it won’t be as chocolatey. I can live with that.


Eric turns his nose up at Splenda, so I’d recently purchased a bottle of Trader Joe’s Organic Agave Sweetener. Technically fructose, but made from cactus, not corn, and it’s lower on the glycemic index than sugar, so I felt somewhat justified.

More info about agave here.

Agave nectar is sweeter than sugar, so I used just under 2/3 c., and because I was using a liquid sweetener instead of a solid sugar, I decreased the milk to about 2/3 cup. I mixed everything together, then put it in ramekins and put those in a water bath and placed them in the oven.


25 minutes passed, and it was still pretty fluid, so I gave it another five minutes. And another five. And another five. I pulled them out and let them cool.

An hour later, and they’d firmed up a lot. (I’m sensing a theme. I think I need to follow baking length instructions a little more carefully.) But they were very good -- very chocolatey and very sweet. I will definitely make this again, but I’ll add even less agave and I’ll bake it maybe 30 minutes.


I’m still an emotional wreck, but baking, as usual, was a good dose of self-therapy, and I satisfied my sweet tooth to boot.

I miss you so much already, Joni.

Saturday, June 20, 2009

A Break From Baking

Years ago I made my dad a perpetual calendar; before I knew what that was, before you could buy them in a stationery store. It was a simple document, created with a word processor. I learned while visiting him last that he still has it -- tattered and folded, falling apart, outdated since the birth of grandchildren and the death of a few marriages.

I've been trying to find a creative use for my photos, and I think I'm on to something.


I'm working on a generic template that will allow me to switch pictures and add personalized birth dates. I took the .pdf file to the local copy shop, and they printed, cut, and bound it for me. I've seen DIY binding kits at the craft store, so next time I might just get them to print it and do the rest myself.


Craft project success! And just in time to start thinking about holiday gifts.

Baby Steps: Black Beans in a Crock Pot

I tried my hand at cooking the other night (as opposed to baking, an entirely different category in my mind), with mediocre results. We recently traveled to Humboldt Co., CA, a 12-hour drive. On the way home I read a copy of The North Coast Journal pretty much cover-to-cover. Within its pages I found a relatively simple crock pot recipe for Justine Shaw’s Grad Student Black Beans. I like mole sauce, and this sounded similar, so I figured why not.

First off, I found the recipe confusing as hell. It begins with a list of ingredients, but then there are a couple of ingredients listed later in the description of the recipe. The author (of the article, not the recipe) added a few of his own ingredients, but didn’t share how that changed the original recipe, or if it even did. Dark beer and strong coffee sounds good in black beans, right? Probably one of the reasons I paid attention to this recipe in the first place. (So why didn’t I add either one?)

I decided right away to make just half a recipe, figuring the likelihood of a less-than-satisfactory result was pretty high, and I didn’t want to waste a bunch of food.

So I measured out one pound of black beans and began their soak in my small crock pot. We eat dinner late because of my work schedule, so when I got up to let the dog out around 6a the next morning, I turned the crock pot on low.

When I finally got out of bed around 9:30a, I read the recipe again and realized I was supposed to have added everything on the list to the soaking pot of beans. No big loss, it still had another eight hours to stew, so I added them late. I added one dried “hot” chile, seeds removed, and just under two chipotle chiles with a spoonful of adobo sauce, plus everything else on the list, divided by two.


By 4p it was still really fluid, more like soup. And it was SPICY. I like spicy food, but I could tell this was a bit much, and I hadn’t even added chipotle sauce. At 6p it was still like soup, so I turned up the heat and took off the lid, and decided to add another chunk of Abuelita (Mexican hot chocolate base).

Dinner was at 8:30p. By this time it had thickened a LOT.


Too much. But it tasted all right, albeit a bit spicy. The chocolate was a nice variation on basic black beans, at least. It could have used a big spoonful of sour cream on top, but I’m on a diet and that’s not on the list. It was bad enough I splurged on a few tortilla chips. (And the sugar in the chocolate base.)

I’m not sure whether I’ll make this again, but the experiment was worthwhile, and it served its purpose – to relieve my personal chef of his daily job at least once in a while, and get me more familiar with the other side of the cooking spectrum.